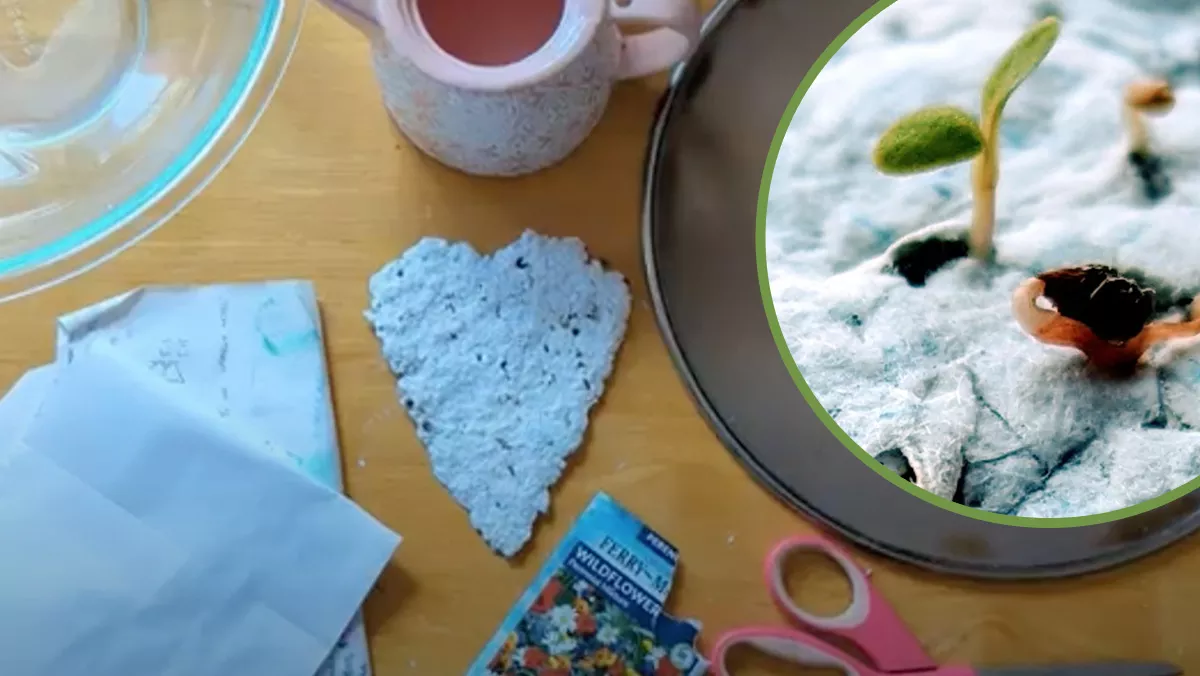
This activity will guide you through how to make your own recycled paper embedded with seeds at home. Once you’re done with the paper you can plant it in soil and sprouts will appear in a few weeks.

You will need:
- Used notebook or printer paper
- A bowl
- Access to water
- A mesh, a screen or a “splatter guard”
- Seeds – Mixed seeds, marigolds, and zinnias work well.
- Optional: an old blender (Your blender may not be safe for food after using it to make paper.)
- Optional: Dried flowers, biodegradable glitter, food coloring, fruit and vegetable dyes
Making Paper
- Tear up your paper into small pieces. You can use your hands, a hole punch, or scissors.
- If you don’t have a blender, soak your paper in a bowl of water for a few hours or overnight. When your paper has softened, use your hands to massage it and squeeze it into a pulp. Continue to mash your pulp until it is unrecognizable as paper.
- If you have an old blender on hand you can soak your paper for ten minutes and then blend it into a pulp. Warning: This might ruin your blender. Only use a blender you don’t plan on using for food.
- Drain any excess water from your pulp mixture. Do not squeeze out or remove all of the water from the pulp. Just drain any water in the bottom of the bowl.
- Add your seeds and gently incorporate them into the pulp. Optional: add any food coloring, natural “dyes” like beet juice, flower petals, glitter or decorations and mix in.
- Hold your screen over a sink, a bowl or a towel. Spread the paper pulp over your screen and gently press it into a flat sheet. Try to squeeze out as much water as you can without disturbing your sheet of paper. You can also gently blot it with a towel.
- Optional: Use cookie cutters to make shapes in the paper pulp. (You can also cut the paper into shape after it dries.)
- Allow the paper to dry. Once it is dry you can lift it off the screen.
- Once you’re ready, plant your paper under a shallow layer of soil and keep it moist. Seeds should begin to germinate in a few weeks.